This time of year, the dessert of choice at any of our holiday gatherings is pie. Pecan, Apple, or Pumpkin, it doesn’t matter, as long as it is encased in a flaky, homemade crust.
I actually don’t think I have ever bought a crust from a box; for me it is much cheaper and easier to make at home.
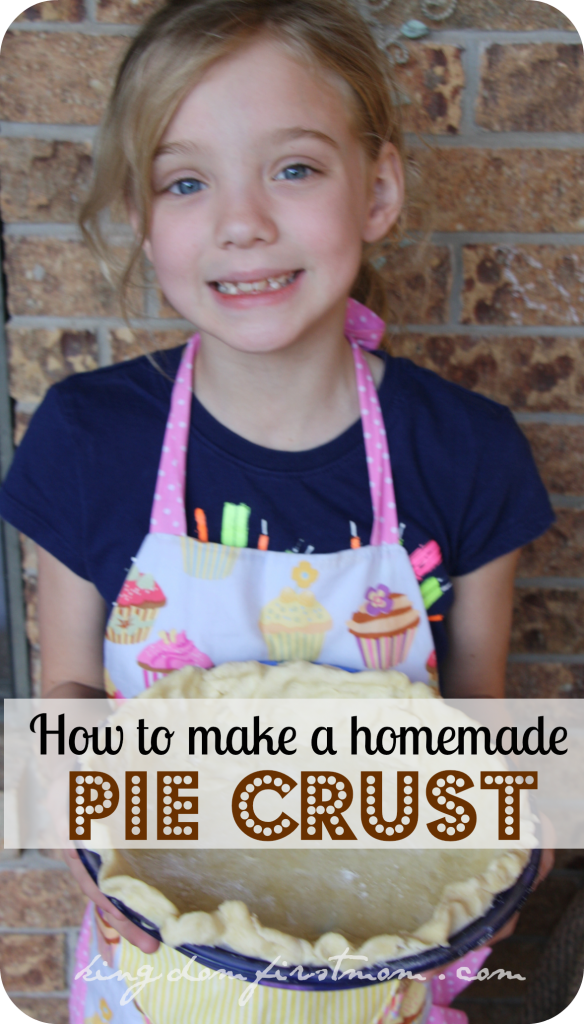
Over the Thanksgiving holiday, Abby Grace (who is 8 years old) decided she wanted to make all of the crusts for our holiday pies. I turned her loose, and she is now our “official” pie crust maker.
Many people are intimidated by the thought of making their own crust, but it really is easier than you might think. All it takes is a little practice!
How to Make a Homemade Pie Crust
1. Gather your ingredients. You will need 1 1/2 cup of flour (I use unbleached, all-purpose), 1/2 tsp salt, 1/2 cup of cold butter (or shortening, if you prefer), and 1/4 cup cold water.
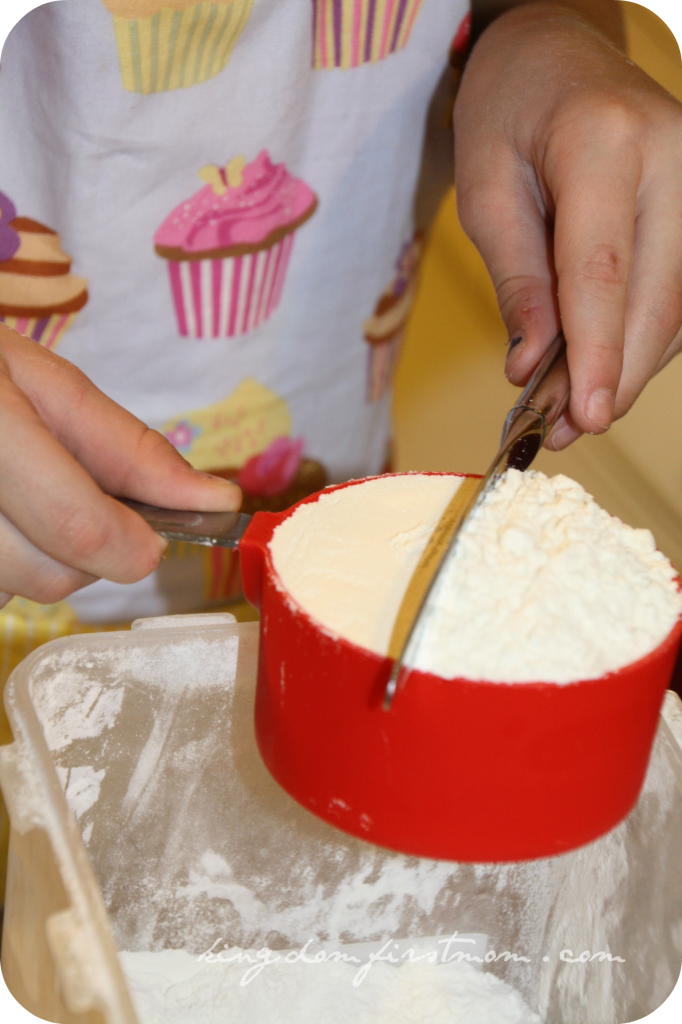
2. Measure out the flour. Use a spoon to carefully fill your measuring cup. Be sure to over-fill, and then use the flat edge of a knife to shave off the excess. Pour the measured flour into a sifter.
3. Measure out the salt and add it to the flour. If you don’t have a sifter, pour it into your bowl and carefully use a whisk to mix them together.
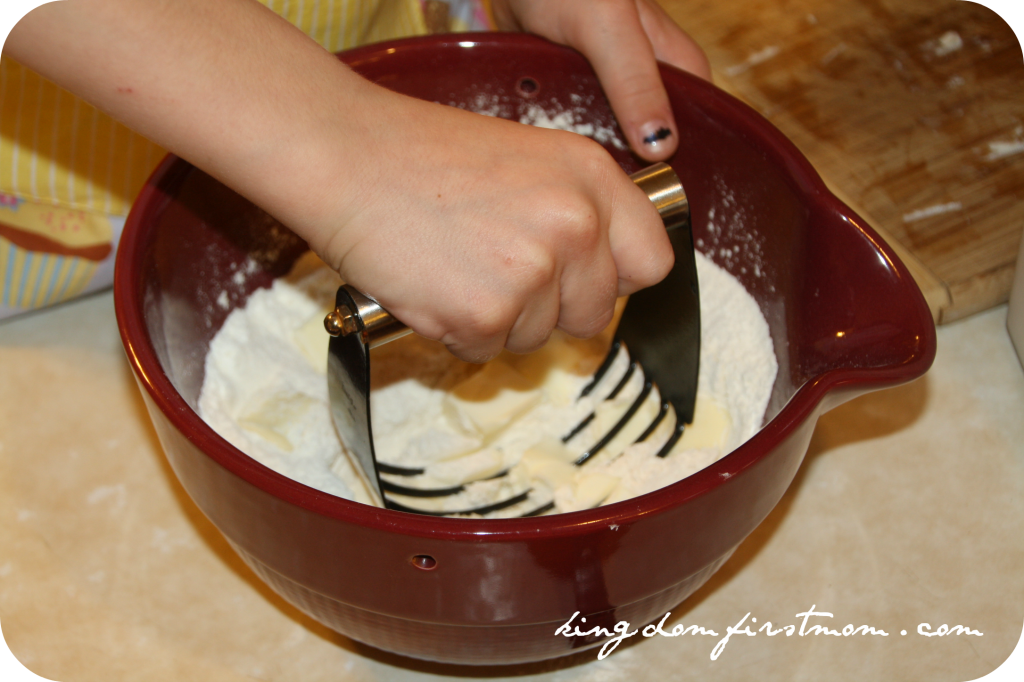
4. Measure out the butter or shortening. I like to cut the butter up before adding it to my flour/salt mixture. Work the butter into the mixture with a pastry cutter or fork. Mix it until the mixture is hanging together in clumps.
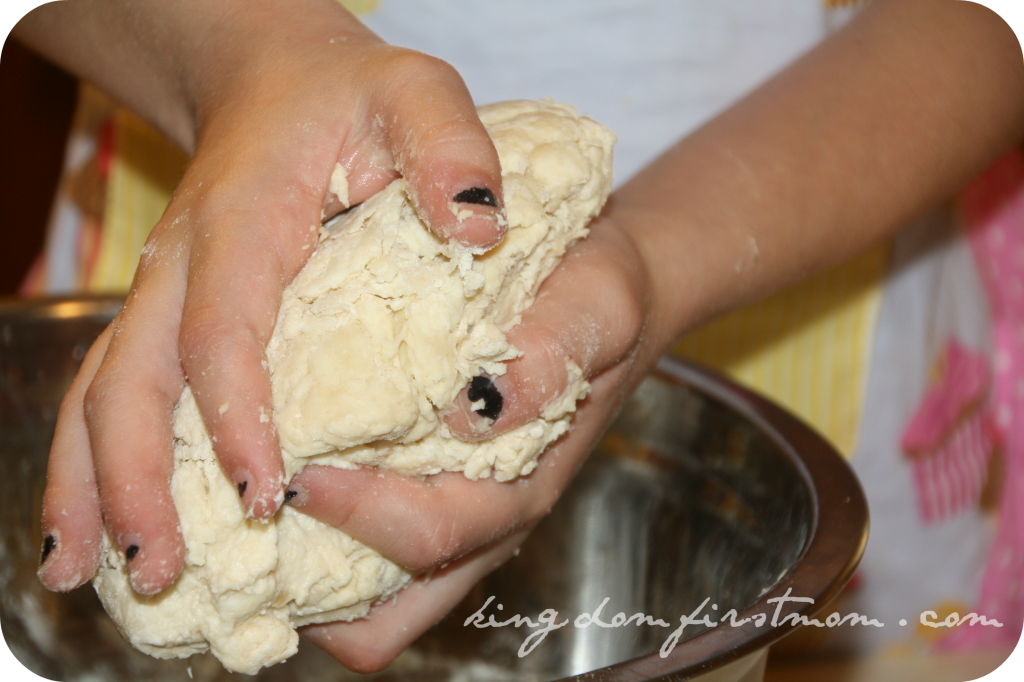
5. Now it’s time to get down and dirty! Add the water to your mixture a little at a time. Work in the water with the pastry cutter or fork or your hands. I prefer to use my hands. Sometimes I have to add a little more water than the recipe calls for. You will know you need to do this if you have quite a bit of flour not sticking to the ball of dough you are making.
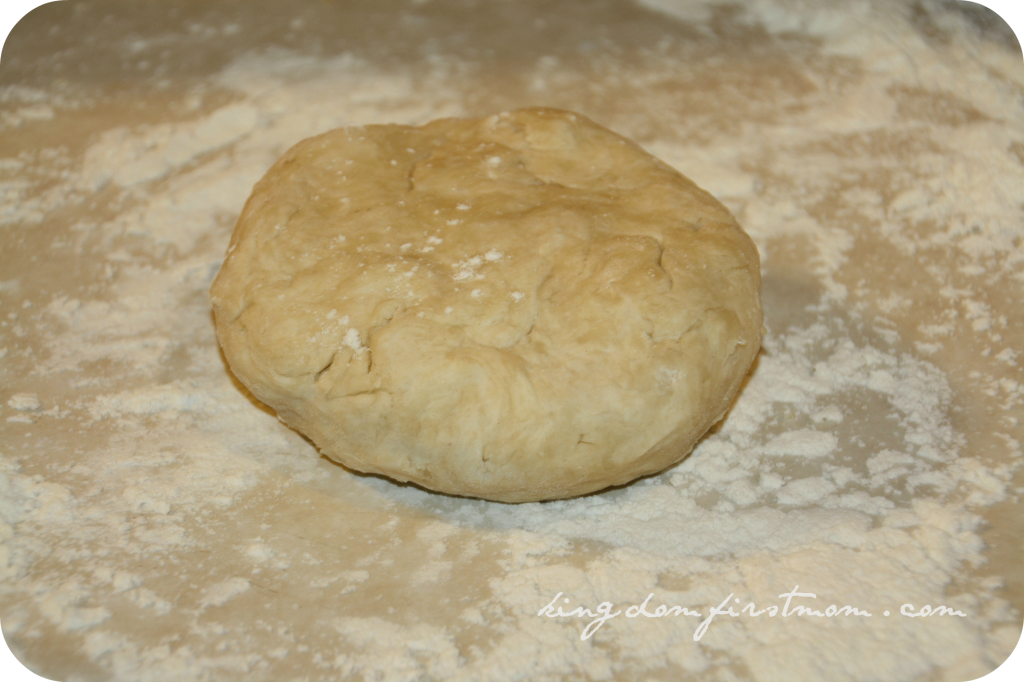
6. Shape the dough into a disc and let it chill in the refrigerator for about 30 minutes. When you are ready to roll out your crust, place it on a well-floured surface. Keep extra flour handy, because you may need to add more to your surface or to your rolling pin.
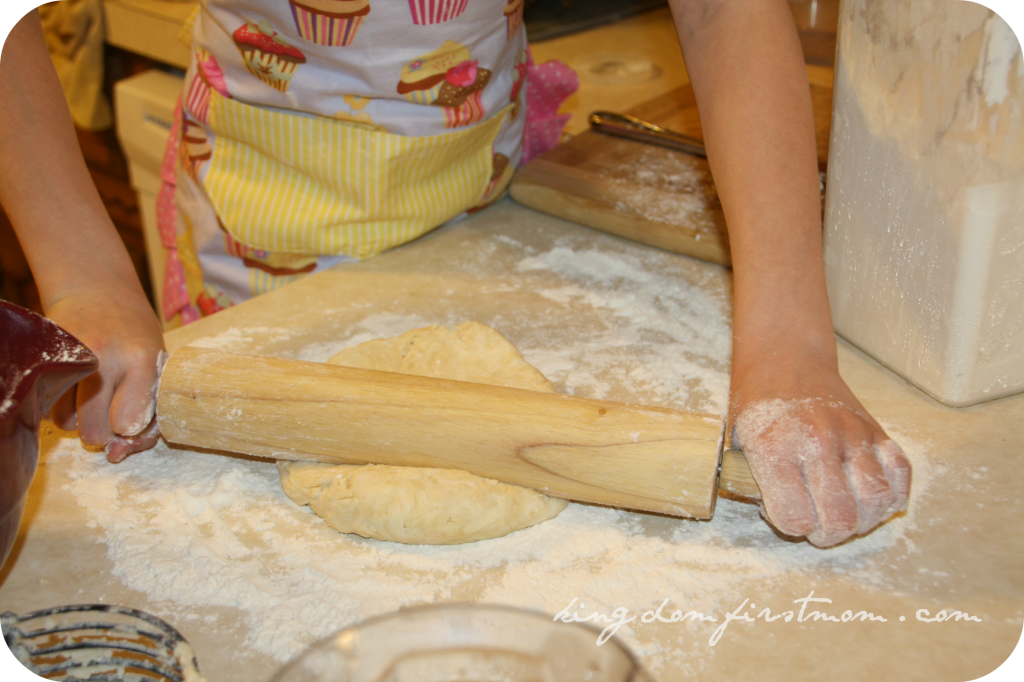
7. Rub flour all over your rolling pin and begin rolling out your dough, starting at the end closest to you and working your way out. Pick up your rolling pin and start again at the end closest to you, and work your way out. Repeat this until your dough measures about 12 to 16 inches across, and is evenly flat.
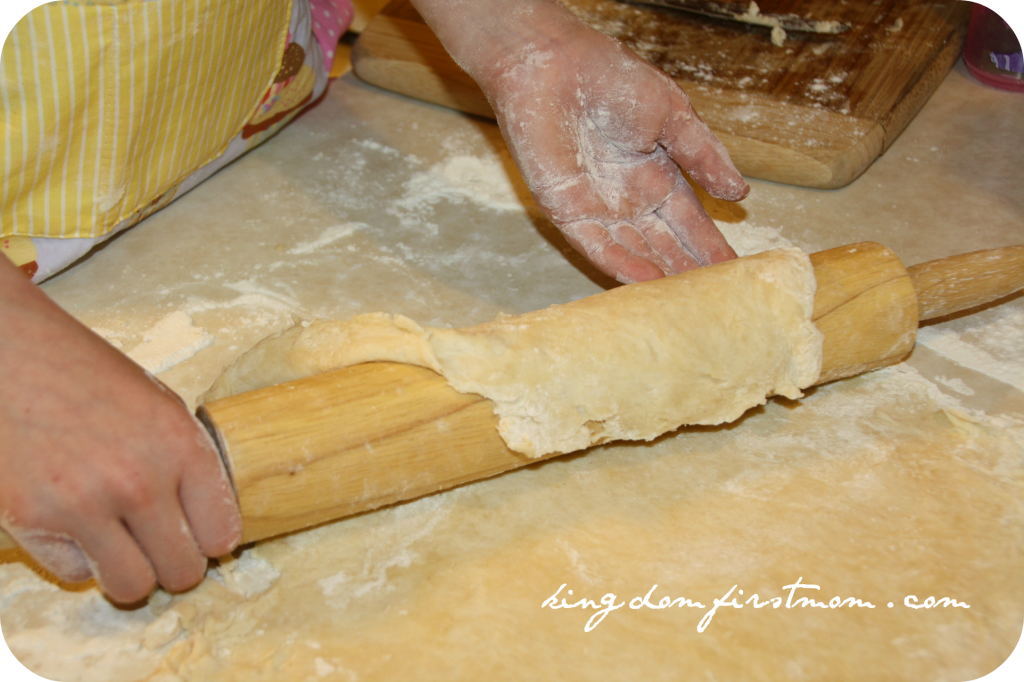
8. Carefully pull up the edges of the crust and wrap the end around the rolling pin. Work the crust back and forth carefully to loosen it from your surface. Lay your crust in the pie plate. Crimp the edges however you wish.
9. Add your favorite filling, and bake as directed. Enjoy!

This month the Eat Well, Spend Less crew is showing you how to have a great holiday on a budget. Read more great tips, ideas, and recipes here:
- Aimee at Simple Bites
- Carrie at Denver Bargains
- Jessica at Life as MOM
- Katie at Good Life Eats
- Katie at Kitchen Stewardship
- Mandi at Easy Homemade
- Shaina at Food for My Family
- Tammy at Tammy’s Recipes
Written by: Amy Norton
 Amy is a youth pastor’s wife and homeschooling mom to three girls, ages 8, 6, and 4, and an new baby boy. When she’s not writing at Kingdom First Mom, you can find her cooking, getting crunchier by the day, and trying to stay on top of the laundry. She enjoys writing about her family, homeschooling, and life adventures at Amy Loves It.





What a cutie!!
Great step-by-step tutorial. Pinned!
Aimee @ Simple Bites´s last blog post ..Gingerbread 101 (giveaway: Decorating Cookies)
Thanks, Aimee!