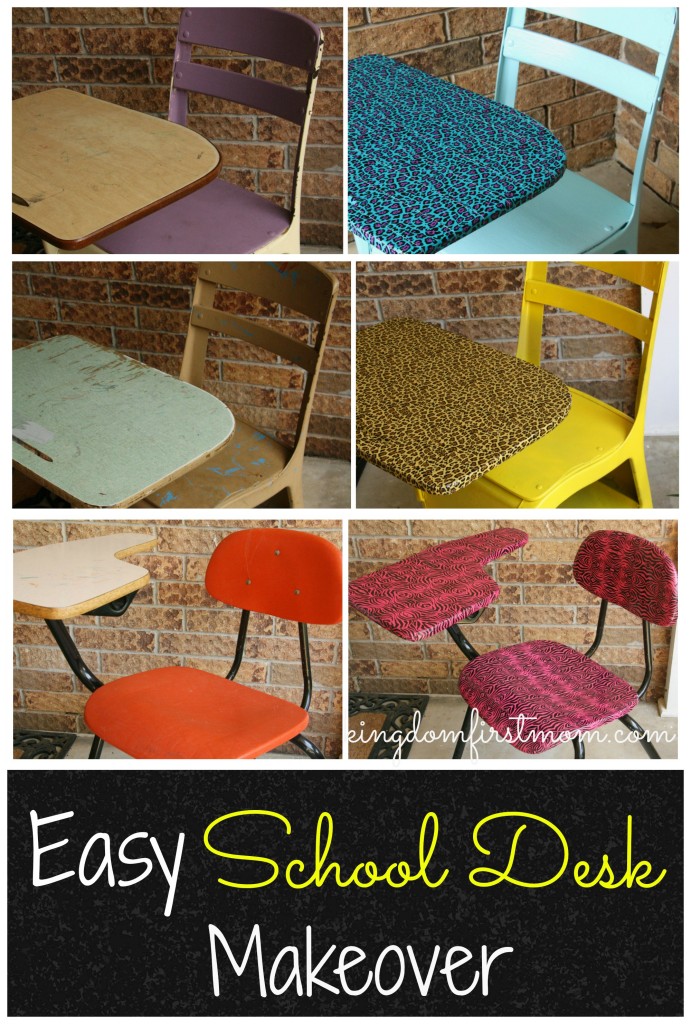
So, I’m not winning any DIY awards anytime soon, but I am thrilled with the way the girls’ school desk makeovers turned out.
Two of the desks belonged to my brother and I when we were young, and I am currently “storing” his for him. Ahem. The other desk was salvaged from the side of the road by my cousin.
I have been in the “process” of painting two of the desks for about two years. It’s just one of those things that I kept meaning to get to and never did.
Well I have now!
All of the girls chose their duct tape and “matching” spray paint colors. {I put “matching” in quotes because I wasn’t sure if the yellow Reese chose would actually look good with her tape print.}
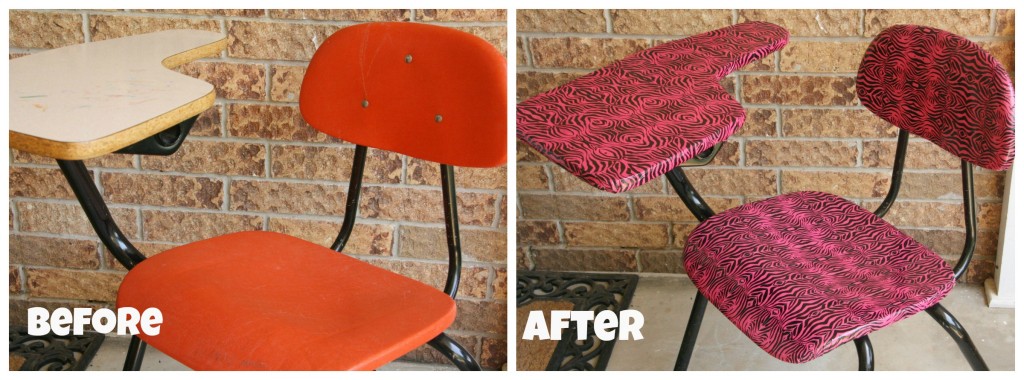
Meleah’s desk is a typical plastic desk, and wasn’t a pleasant color. I figured a little bit of colorful duct tape would do wonders to it.
I tried really hard to match the pattern up. I’m OCD like that, and I am quite pleased. My little babe is, as well!
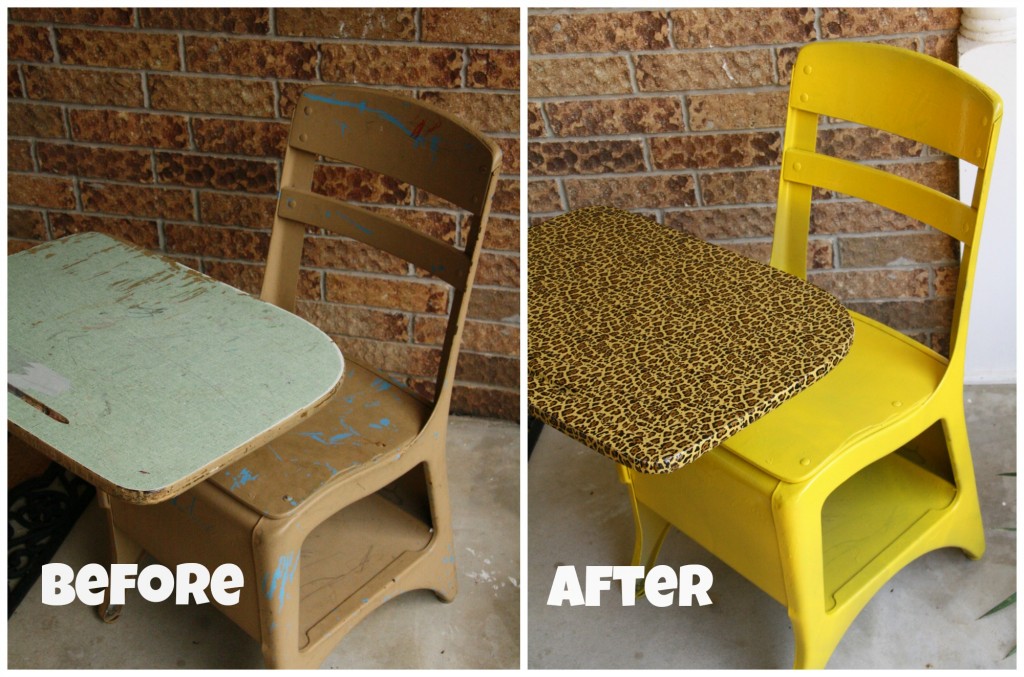
Reese chose leopard duct tape and bright {aka, school bus yellow. Ha!} for the desk paint. I was pleasantly surprised at how nice the color and pattern ended up.
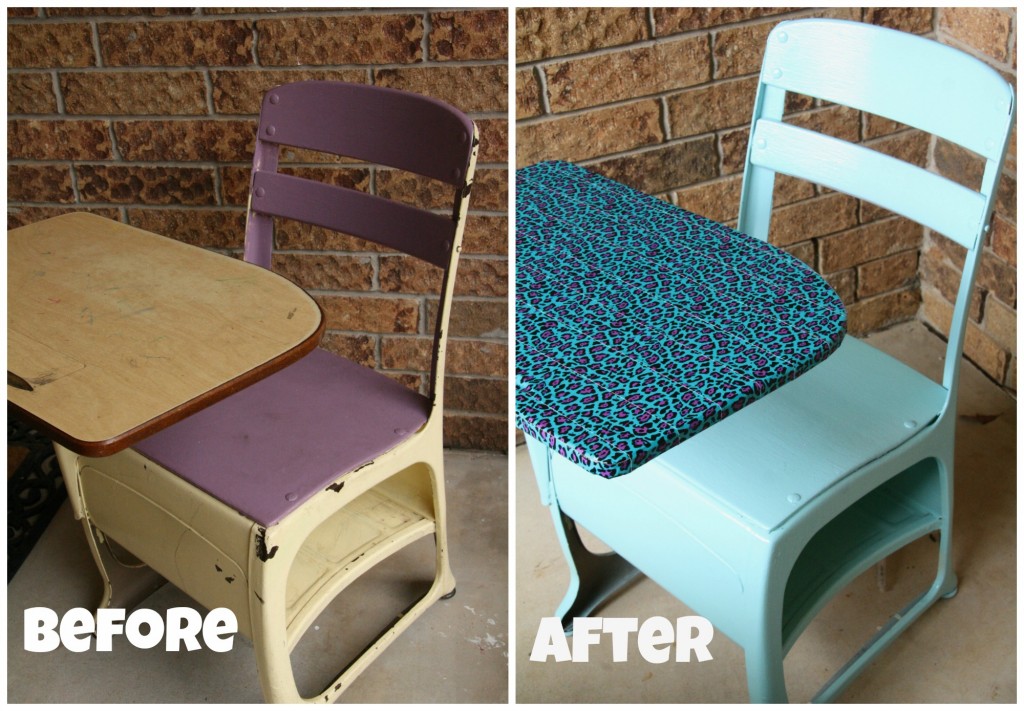
I wasn’t as particular about lining up the leopard prints on Reese and Abby’s desks because for one thing, it was harder to do, and another, you really can’t tell. I did a few “test” pieces to make sure it was going to match up properly.
I love the colors Abby Grace chose for her desk.
Now. How did I do this? It’s very simple. I gave the desks a couple of coats of spray paint, and after it had dried a bit, I began sticking long strips of duct tape to the desk tops. As I mentioned, I wasn’t as worried about matching the leopard patterns all the way across. With each strip, I made sure it was more than long enough to cover the length of the desk and to wrap the side and stick on the bottom.
On Meleah’s desk, I did the same as above, only I made sure to match up the patterns as I went. Sometimes I had to overlap the tape a bit to make the patterns match; I just looked at each piece, matched it up, and then cut the strip off with scissors (for a clean cut).
Easy, peasy.
The girls are so excited to use their new desks as we begin our Fall semester today! And I am excited that a project two years in the making is now complete. Whew!


Came across this page via Pinterest. I had no idea how I was going to get my son’s desk to match the décor in our “homeschooling area” of the house, but this pretty much solves all of my problems. Thanks for sharing! <3
Yay! I’m so glad to hear that, Emily!
Blessings,
Amy
Awesome diy idea. I will definitely give a new life to my old chairs now =)
Thanks! Good luck on your project! 🙂
Thanks for sharing these valuable tips.